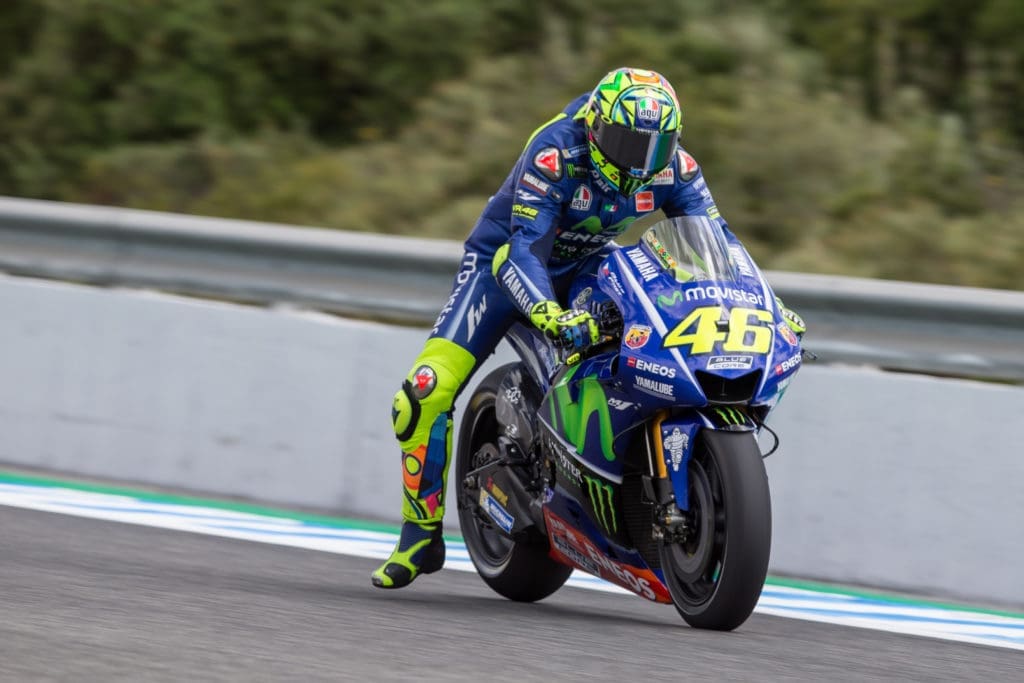
Bike brakes have come on massively in the last few decades. Here our guide to the state of the art, and how you can get the best from your stoppers…
 Whaddya need brakes for – they only slow you down! It’s a daft joke and, of course, it’s way off the mark. Better brakes will make your bike faster – the quicker you can decelerate on the way into a corner, the more time you can spend at top speed before braking, and the later you can get onto the stoppers into a bend. But away from the track, there are very obvious benefits to good brakes too, in terms of ‘not dying’ every time some blind (insert expletive) nutter pulls out on you in a car.
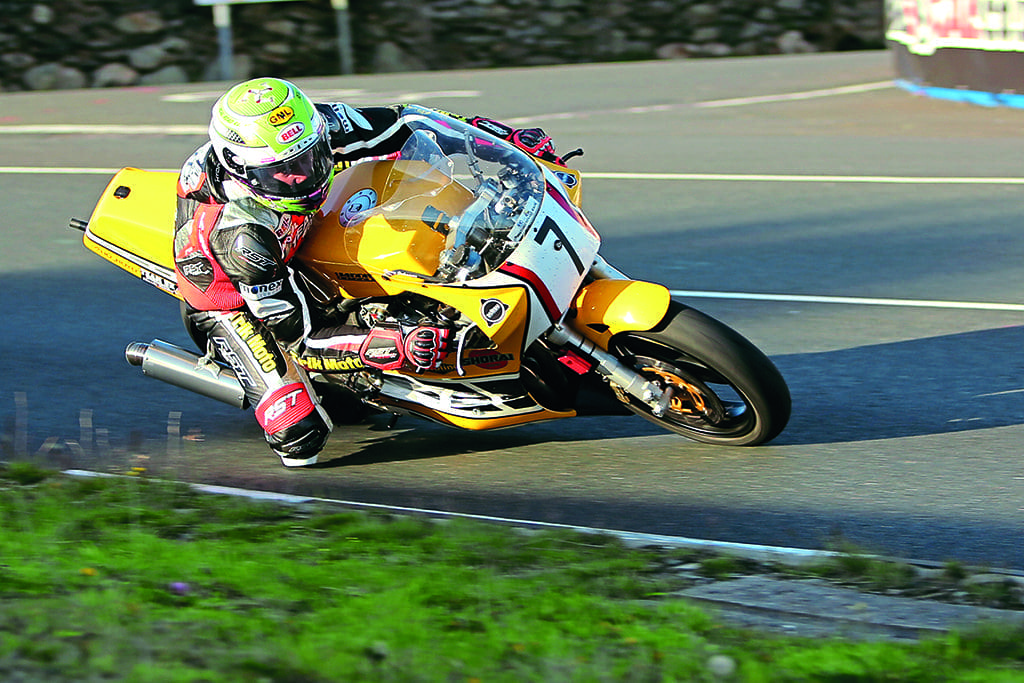
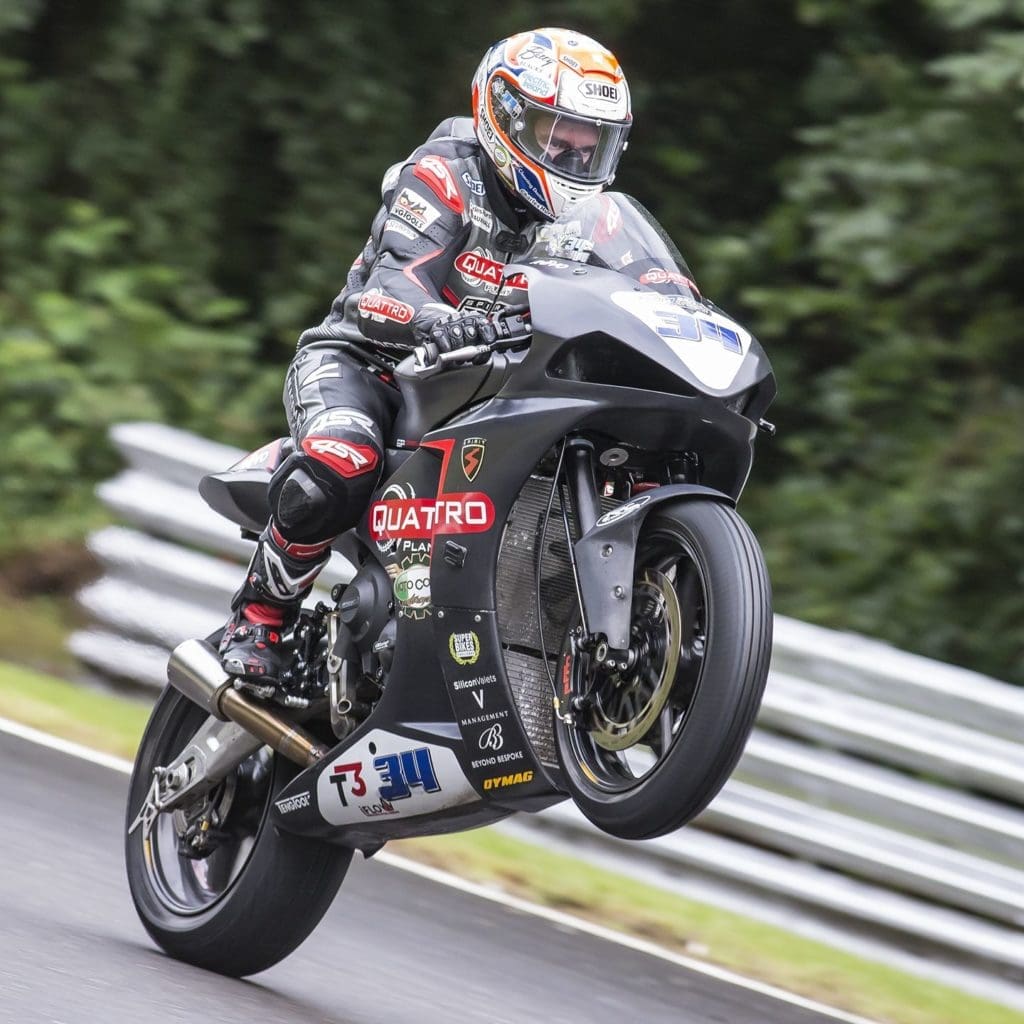
And it’s also fair to say that a really good, strong, controllable set of brakes is one of the great pleasures in performance riding. When you’re really on song at a trackday, right in the groove, and you make the near-perfect braking move at the end of a big straight, the sheer violence of the forces involved, and the fine line you’re treading between fun and disaster, can be utterly exhilarating.
Enjoy more Fast Bikes Magazine reading every month.
Click here to subscribe & save.
The good old days
Back in the very early days of bike design though, there wasn’t very much of that around. Brakes were very much an afterthought – and on the earliest bikes (essentially pushbikes with small bolt-on motors) you stopped with your feet. Even when motorbike design moved on from its bicycle foundations, there often wasn’t any front brake at all, with pre-war riders often relying on back brakes. And when we say ‘brakes’ we mean it in the loosest sense – you were likely to be relying on a bit of flat metal pushing onto the top of the tyre (a ‘spoon brake’ ffs), or a leather strap tightened round a drum on the wheel.
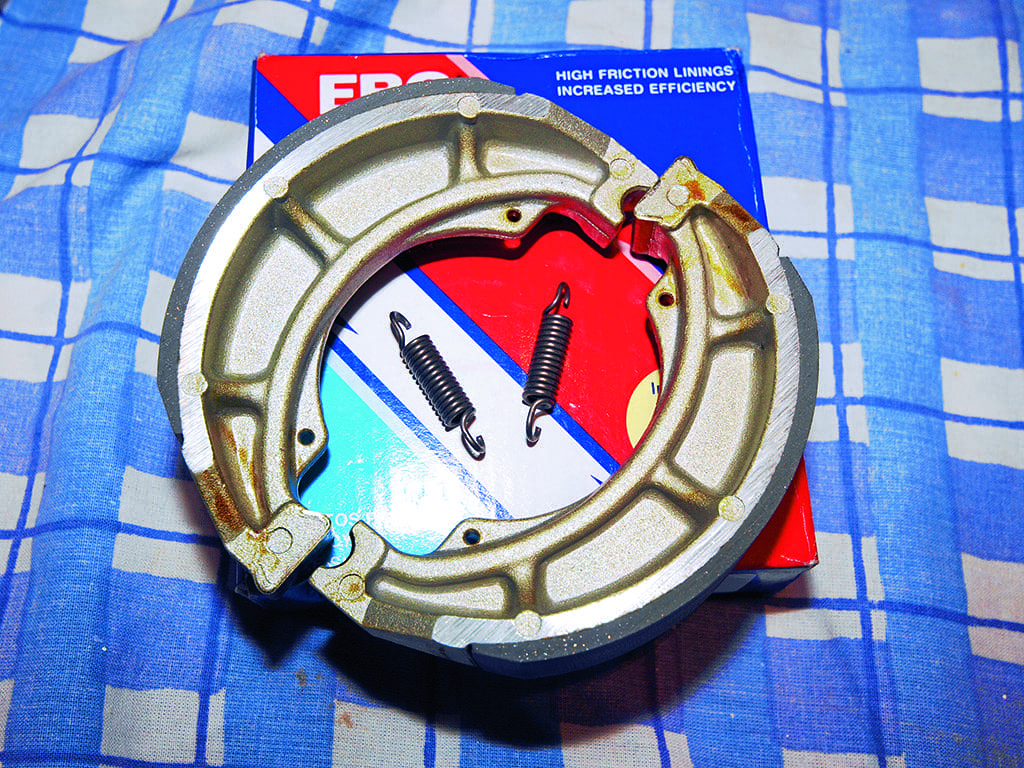
That’s not as big a problem as it might sound actually, since they only had about a quarter of a horsepower, and they broke down every hundred yards anyway. But as engines got more powerful and chassis designs started to become more sophisticated, the need for a better brake solution grew. And that next tech step was drum brakes. Similar in concept to the old ‘band brakes’, you now had the friction materials bonded onto curved ‘shoes’ inside a hollow hub. Levers operated by Bowden cables pushed these shoes out onto the inner face of the hub (or drum), and the friction material slowed the wheels down. Simple, basic stuff, and enough to keep bikers happy right up until the late 1960s.
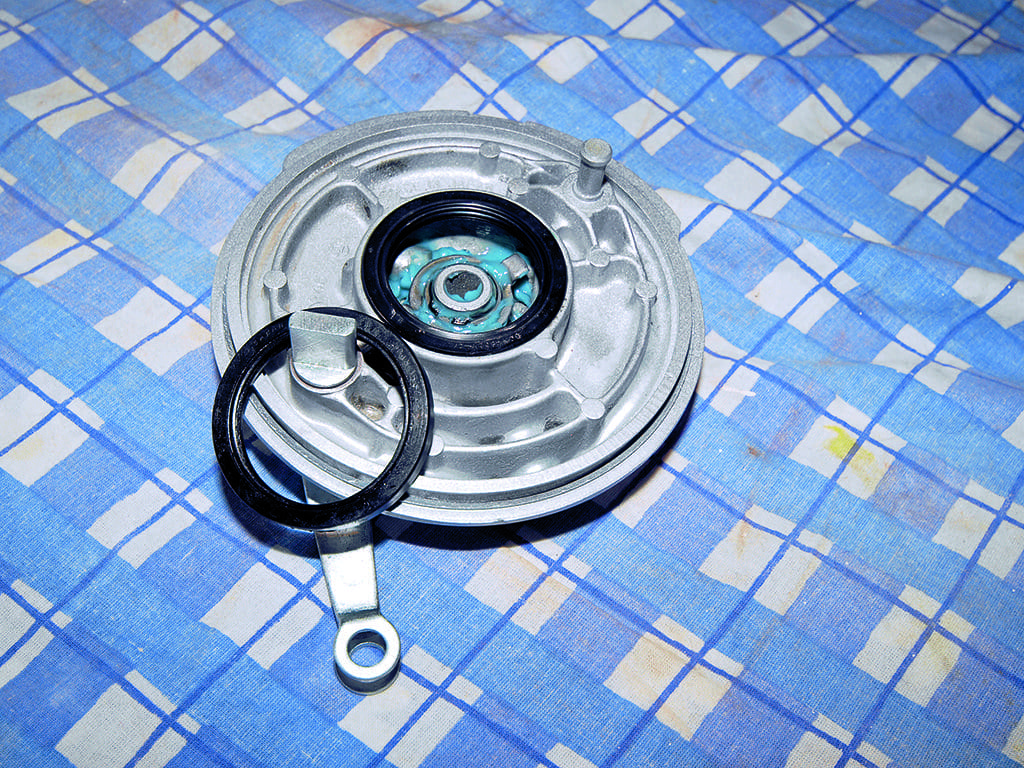
By then, the very best drum brake designs used large diameter hubs, with multiple shoes. And they gave strong, powerful stopping power. What they still couldn’t do though, was cool themselves down adequately, even with cunning vents and ribbed outer hubs. As the friction material overheated, it lost efficiency, and the braking force faded away. The heat also distorted the drums themselves. Something needed to change.
What an anchor
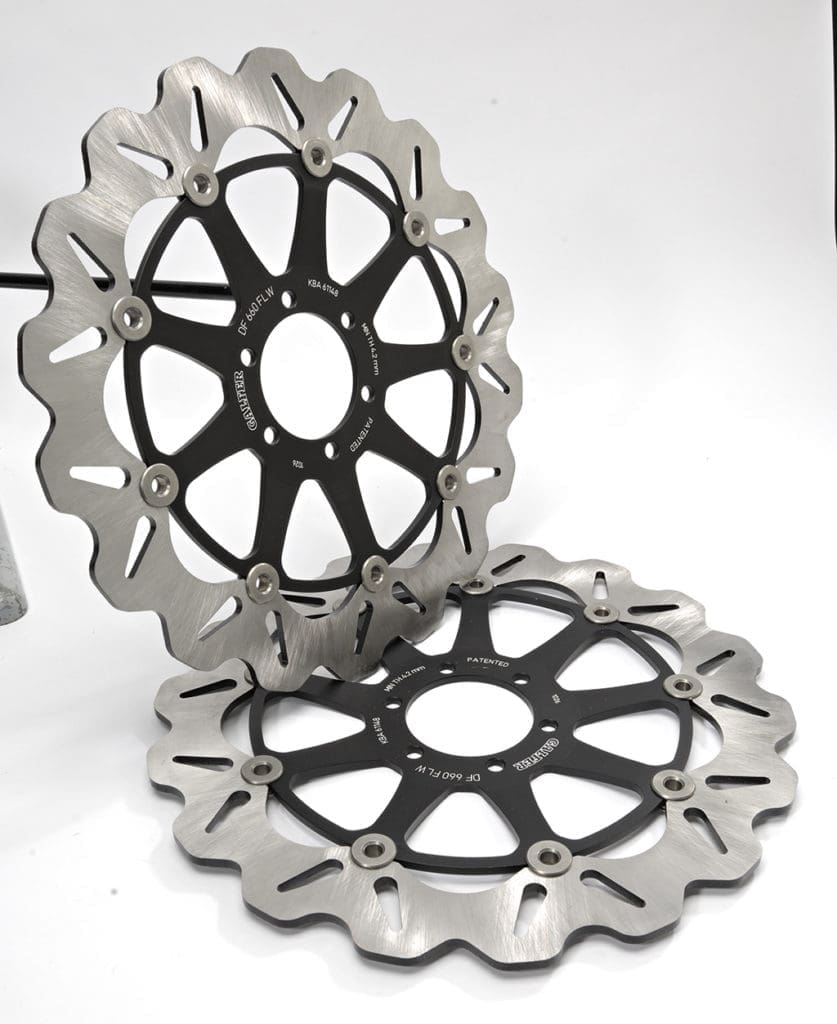
Enter the brake disc. Instead of pushing the friction material outwards against the inner face of a metal drum, you bolt a metal disc onto the wheel, then grip it on either side, with a pair of friction material ‘pads’. Clamp down on the disc with the pads under high pressure, and you’ve replicated the scenario of the brake drum, but with much more cooling airflow, and less chance of distortion.
The first big production bike to use brake discs was the 1969 Honda CB750, with a single 296mm disc up front, though it stuck with a rear drum.
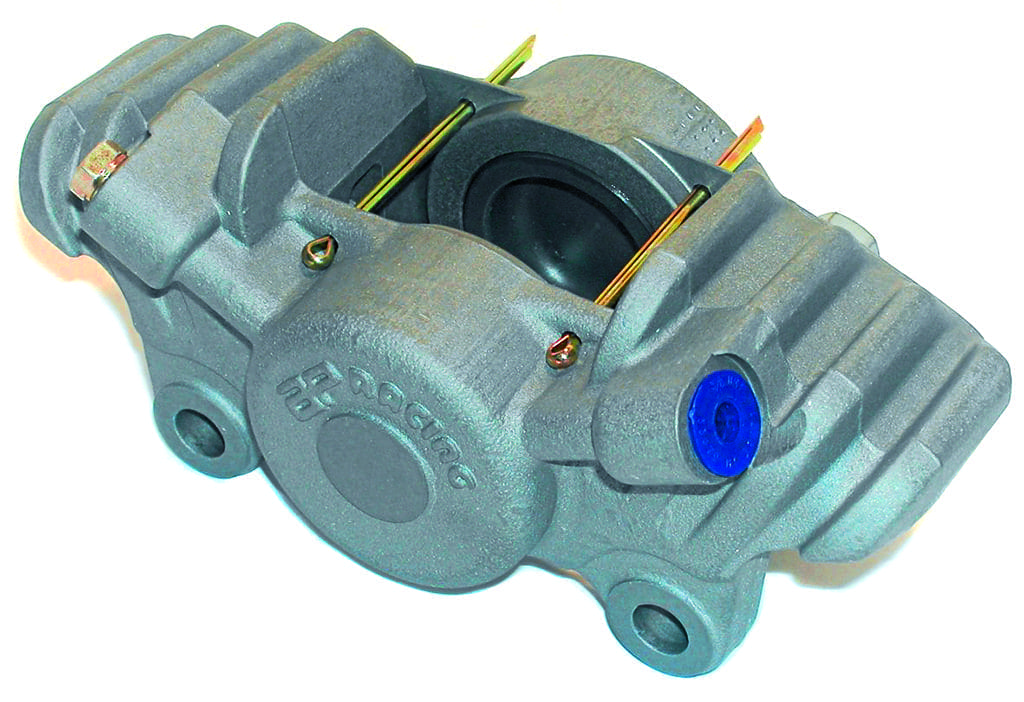
Early setups worked fairly well but they initially had big problems in the wet (they didn’t slow you down much, if at all), and were restricted to the top-end models only. By the 1980s though, improved pad and disc materials had sorted the wet braking out, and even basic commuters started to appear with discs. At this point, the Japanese firms were ratcheting up the performance of their bikes in all areas – engines, frames, suspension, tyres. So the brakes had to get better too. The first disc brakes had single-piston hydraulic floating calipers, where the whole unit sits on a sliding mount, pulling the pads on the non-piston side onto the disc (these are common rear brakes now). Then we got twin-piston sliding discs with two smaller pistons instead of one big ‘un – these are still common on current midrange bikes.
Twin-piston opposed calipers were the next upgrade, with hydraulic pressure applied directly through the pads on both sides of the disc, then we got four-piston opposed units, with a pair of pistons either side of the disc. Six piston units appeared for a time, but proved to be a bit of a dead end, while Honda used three-piston sliding calipers on its CBS linked brake setups (one piston on each caliper was connected to the brake on the other wheel). Most firms have now settled on four-pot designs for high-performance front brakes, as a good balance between weight, complexity and performance.
Fettling forward
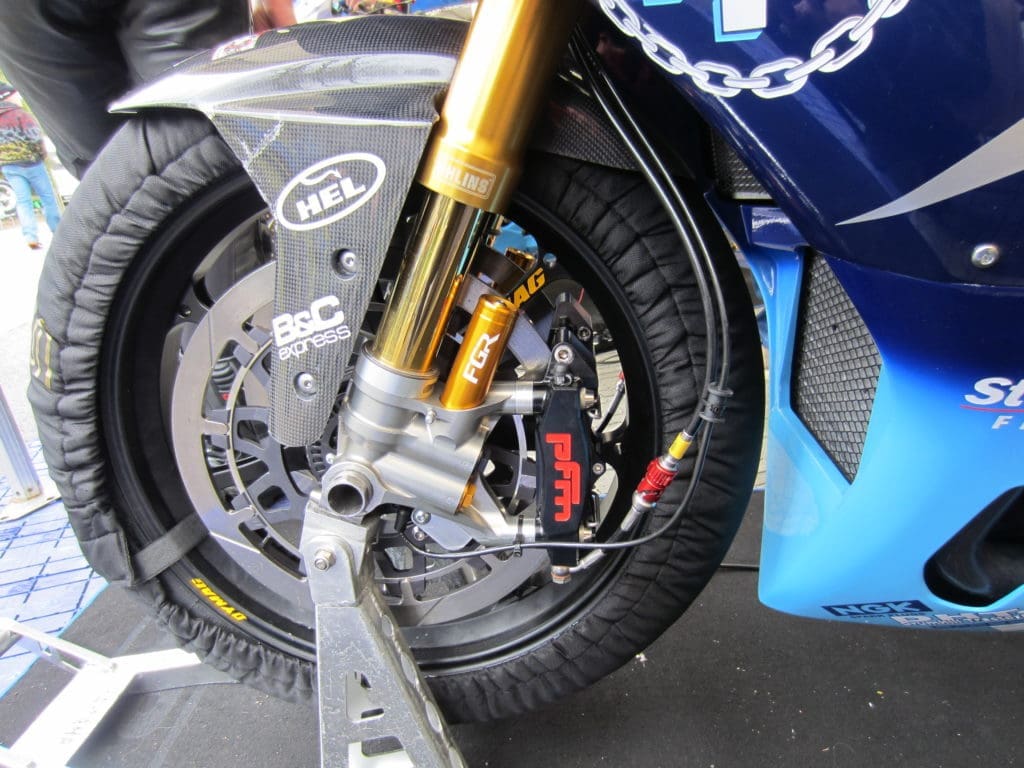
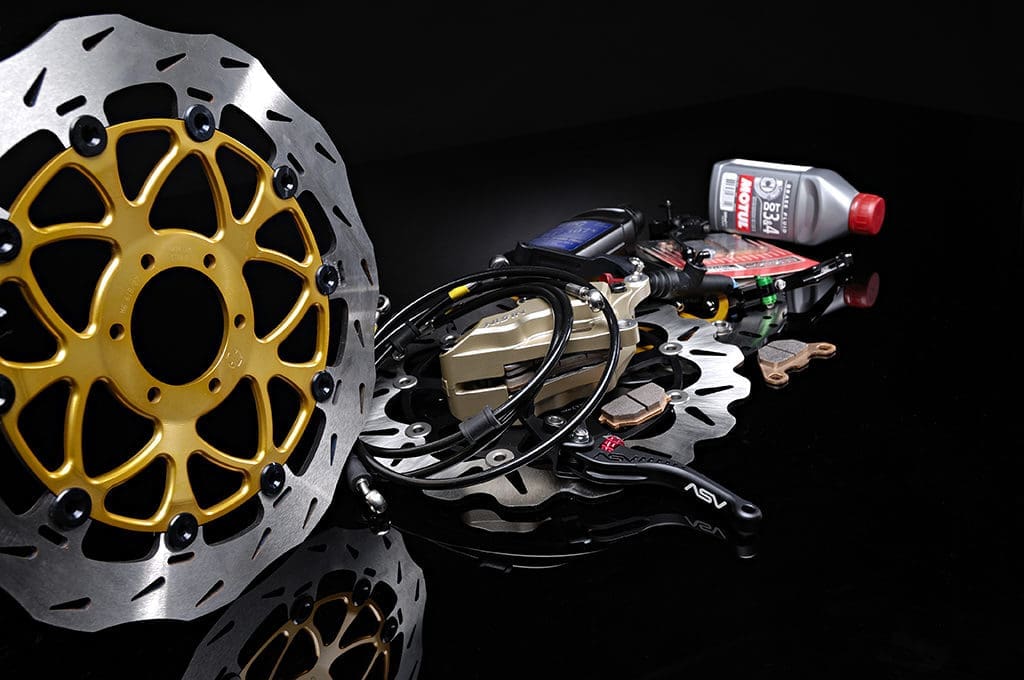
The other major design leap was the move from conventional axially-mounted calipers to radial-mount designs. Originally, calipers had the mount bolts pointing inwards toward the face of the disc – parallel to the wheel axle. That’s a simple way of doing things, but mechanically illiterate. Bolts are at their weakest if you apply large forces sideways to them – if you look at an old caliper it’s obvious that all the braking force is trying to ‘shear’ those little old bolts sideways, like a big pair of bolt cutters.
Radial bolts have a far easier life – the forces generated when the caliper bites on the spinning disc are pushing *into* the bolts, rather than *across* them, and that means you can use thinner, lighter bolts for the same braking force. Radial calipers are also bolted into place at both ends of the caliper, rather than having one end of the caliper sat out in the breeze like axial mounted units. That means more stiffness, less distortion and more efficient stopping. In addition, it’s easier to fit different sized discs, with simple spacers under each mount bolt, you can move the caliper out to accommodate a larger rotor.
Finally, discs have gotten bigger over the years. That’s a simple way to give more braking force – The brake force itself is generated at the disc, then transferred into the wheel and out through the tyre to the ground. As with all forces, it’s multiplied by leverage over distance – like using a long spanner on a tight nut. So a larger disc means a longer lever effect on the brake force from the caliper.
You can feel this effect easily – put your old bicycle upside down on its seat, and spin up the back wheel with the pedals. Now, try to stop the wheel down at the hub – tough, isn’t it? Try the same at the tyre, and it’s a piece of piss to halt the spinning. The force from your hand is more than enough when it’s multiplied by the radius of the wheel, but without the leverage effect, it’s much harder to stop the wheel. So, having a caliper biting onto a Panigale’s 330mm disc 165mm out from the axle will generate more force at the tyre than if it’s sitting 120mm out on a CB125’s 240mm disc.
Get a grip
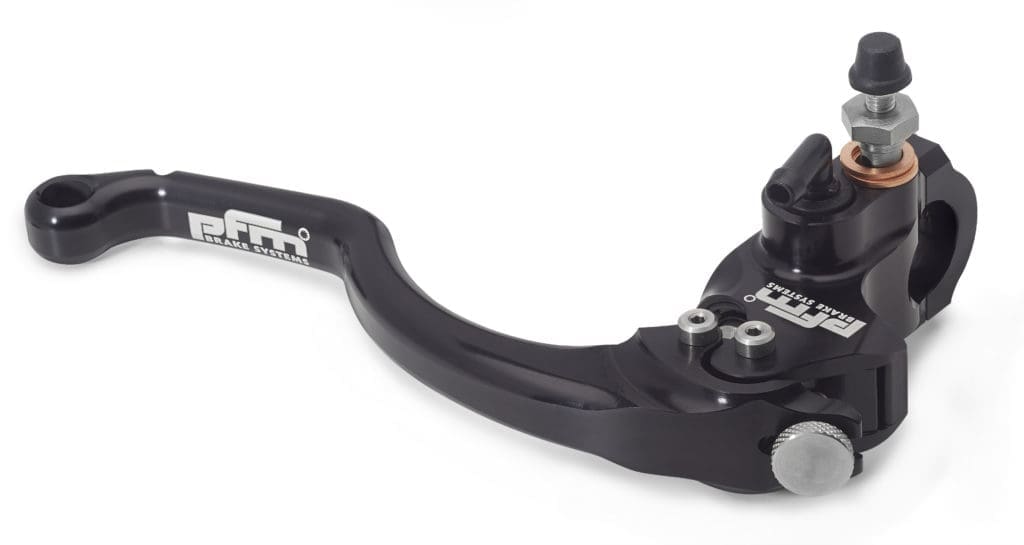
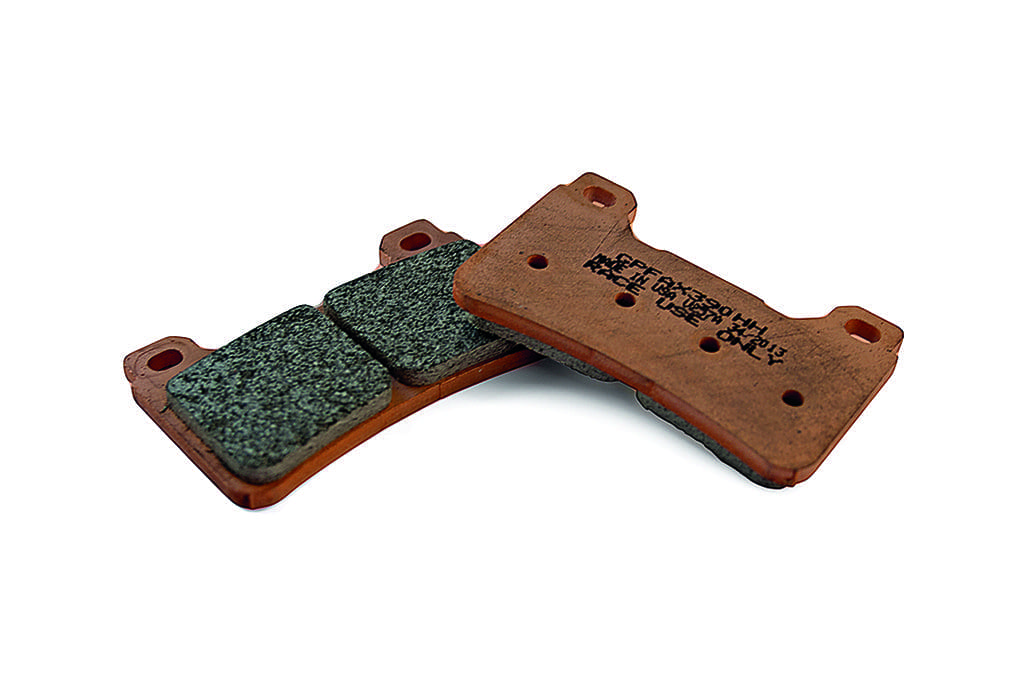
How else can we improve the braking force? Well, you can use friction materials with more ‘grip’ – or a higher coefficient of friction. Brake pads nowadays use either organic compounds or metallic sintered materials, and together with different choices of disc material, these can give more or less braking force. Wal Saunders of Manx firm PFM brakes told us, “Cast iron is the correct material for brake discs. We use a high-spec ductile iron – in the early days people used grey iron which used to crack. But ductile doesn’t crack. We’re one of the last bastions of cast iron brakes, but some people don’t like it because it does go rusty.

So, in the past few years we’ve developed a very high performance stainless steel – not the same as anyone else’s. Paired with them we use premium-grade pads – the advantage of high quality rotors is you can dial in performance with different pads. If you want more progressive braking, you use carbon or organic pads. If you want a more immediate feel – go for a good quality sintered pad. Bendix, SBS, Ferodo and Brembo race pads are all very good.”
Now, the funny thing about bikes is that the limits on braking aren’t actually all about the brakes themselves. The first obvious limit is tyre grip – too much force going through the front hoop into the deck will lock the wheel and you’ll crash. But on a sports bike with modern race tyres, in a straight line, on a dry grippy surface, this limit often becomes less important. If there’s enough grip here, then with sufficiently powerful brakes, the rear wheel will come off the ground, and the bike will start to flip over forwards. In other words, the chassis itself becomes the limiting factor: the braking forces that can be applied aren’t held back by the calipers, discs or tyre, but by the dynamic way the chassis responds under braking.

Sportsbikes all have short wheelbases and high centres of gravity for exactly this reason – as the bike accelerates and brakes, the weight is all transferred to the back and front wheels respectively. That gives you wheelies and stoppies in the end – as 100 per cent of the weight of the bike is transferred onto one wheel – but more weight pushing down on the tyre also maximises grip. It’s why long-wheelbased cruisers often have crap front brakes: there’s not enough weight transfer to help the front tyre, and hard braking locks the wheel easily.
Next level
What about braking at the highest levels? How do race techs setup the brakes on top-class race bikes?
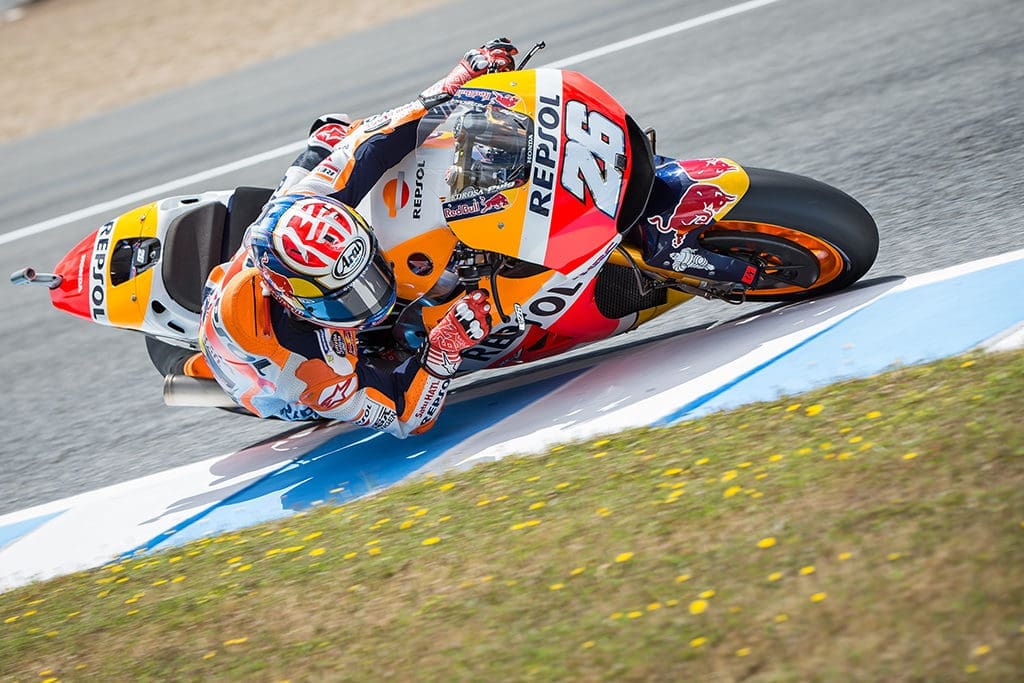
We spoke to Simon Green, crew chief at Bournemouth Kawasaki, and owner of Track Pro (www.track-pro.co.uk) bike setup firm. He told us how he looks after the brakes in a BSB garage.
“The first thing you do when building a superbike is throw all the original stuff away. It may be good but it ain’t good enough. ABS isn’t needed on race bikes- it comes as standard with most good riders. So we’ll fit new discs, calipers, pads and lines, along with a replacement master cylinder. Brembo is the supplier of choice for most teams and manufacturers – they’ve won every major world title in recent years, so who am I to argue?”
So basically, if you want the best braking performance, that means binning off all the ‘road friendly’ kit and banging on some super powerful and pricey race-spec products. But just exactly how much of a difference would a racer note (aside from a huge hole in their bank balance)? What is a race team aiming for with the brake setup?
“The difference is subtle. Outright stopping power is governed by tyre adhesion not brake performance, so the improvement is in feel, adjustability, consistency and fade resistance. As mentioned above, racing brakes work hard. Very hard! Temperatures on the disc surface will reach 400+ degrees C and pads won’t be far behind. The fluid gets hot, and although it’s very good nowadays, it still goes off after a while. The flip-side of these gains is that maintenance of the braking system then becomes a necessary evil – after every session the calipers are off, pads out, calipers cleaned and pads checked.

I’m of the opinion that the less you disturb the fluid system the better, so I would only ever bleed the brakes if there was an issue during a meeting. The fluid would be changed at the workshop after every round. Pads last approx. 500 to 600kms, less if they are carbon compound. Generally a new set goes in once a weekend for morning warm up.
These are “bedded in” gently to avoid glazing and will be good for the two races on Sunday and all the next meeting’s sessions until the next warm up. That’s basically it for the BSB bikes. The key thing is attention to detail. A mistake on this system can have catastrophic consequences….”
Carbon footprint
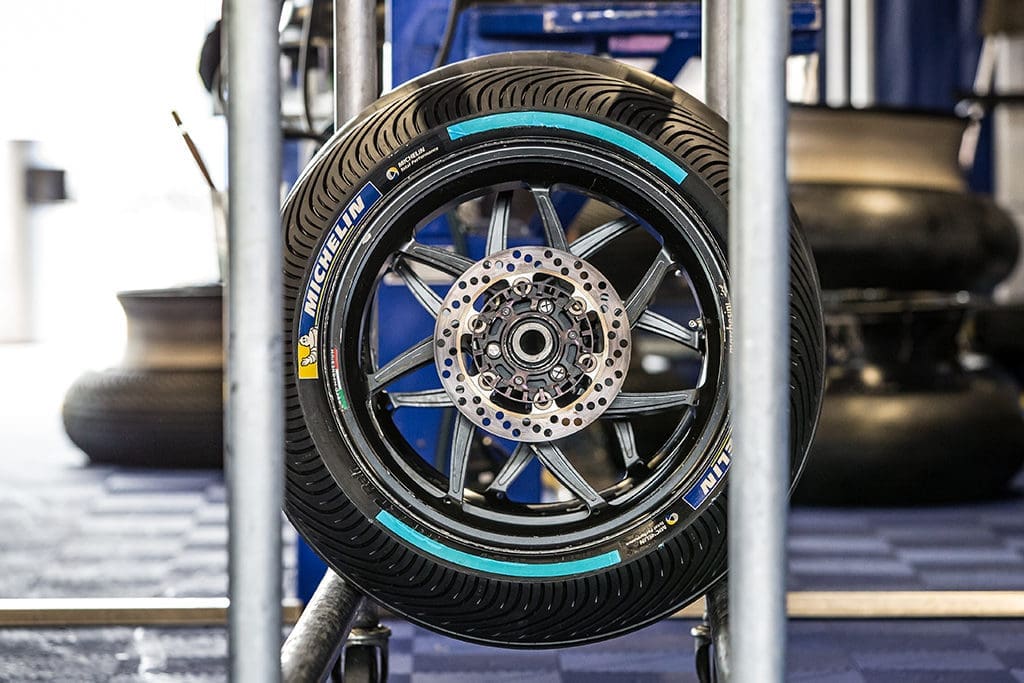
The ultimate braking system is found on MotoGP bikes of course. On the face of it, much of it looks similar to what’s on WSB bikes – two hyooge front discs, four-piston Brembo calipers, radial master cylinder. But, it’s all very different when you have a closer look. The obvious change is the use of carbon discs and pads.
These are lighter, stronger and more consistent at high temperatures, so they’re better suited to the hellish conditions of a MotoGP race. At the Circuit of the America in Austin, Brembo reckons its stoppers get the hardest time, pulling bikes down from 210mph to 41mph – down a hill into turn 12. Eek.
There are a couple of major downsides to carbon brakes though, which is why we don’t all have them on our trackday Gixers. Firstly, they cost a fortune – like tens of thousands of pounds to kit a bike out with pads, discs and calipers. The exact price is moot – since Brembo won’t sell them to anyone but MotoGP teams anyway.
The second flaw is temperature. Carbon pads on carbon discs give great frictional characteristics, but only when they’re hot. Below 200° C Marc Marquez might as well shove his Alpinestar onto the front tyre, for all the braking power he’ll get from his carbon brakes. That’s why the bikes have close-fitting shrouds over the discs to keep the heat in between corners – and it’s also why teams keep steel discs in the truck for wet races.
This might be about to change though. Brembo’s been working hard on low-temperature carbon brakes, and Marc Marquez actually won a wet MotoGP race at Misano last year using the latest carbon stoppers. So, could we all be using the exotic materials on road bikes soon? Well, plenty of high-end supercars have optional ceramic and carbon brake systems, so it’s not impossible. But it’s likely to necessitate you selling your house, pet dog and your mother-in-law’s finest China.
You and yours
But regardless of how fancy pants your anchors are, they have one thing in common with even the most budget of offering; their tendency to degrade gradually. They don’t just stop working overnight (unless the missus discovers your secret internet browsing history). Rather, the fluid, pads, hoses and seals slowly all get a bit naff over months. If you ride every day, you adapt to the decreasing performance, and barely notice that your stoppers are worse than those on a 1982 Harley. The good news is you can often get most of the performance back quickly and easily with some fettling.
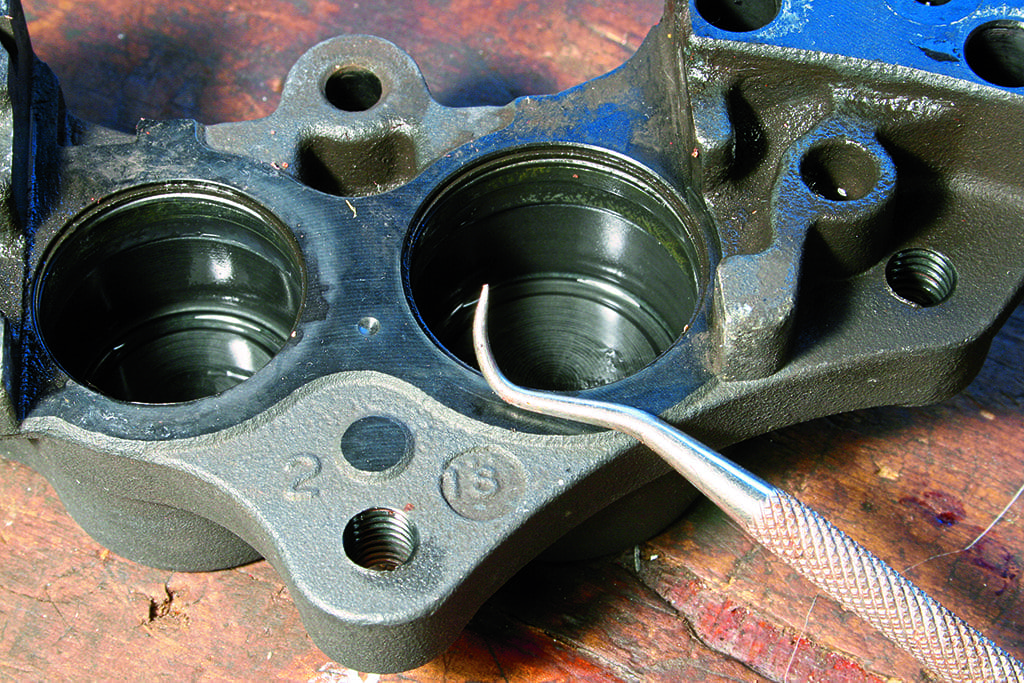
New fluid is the first place to start, if you’ve not changed it recently. Old brake fluid gets spongy, reducing effort at the caliper, and will also boil at lower temperatures. The next enemy is dirt. Brakes live in a crappy environment, full of grit, grime and mess. This gets into the piston seals, pad retaining pins, anti-squeal shims and sliding brackets, gumming everything up. A quick strip and clean with loads of brake cleaner will sharpen things up a treat.

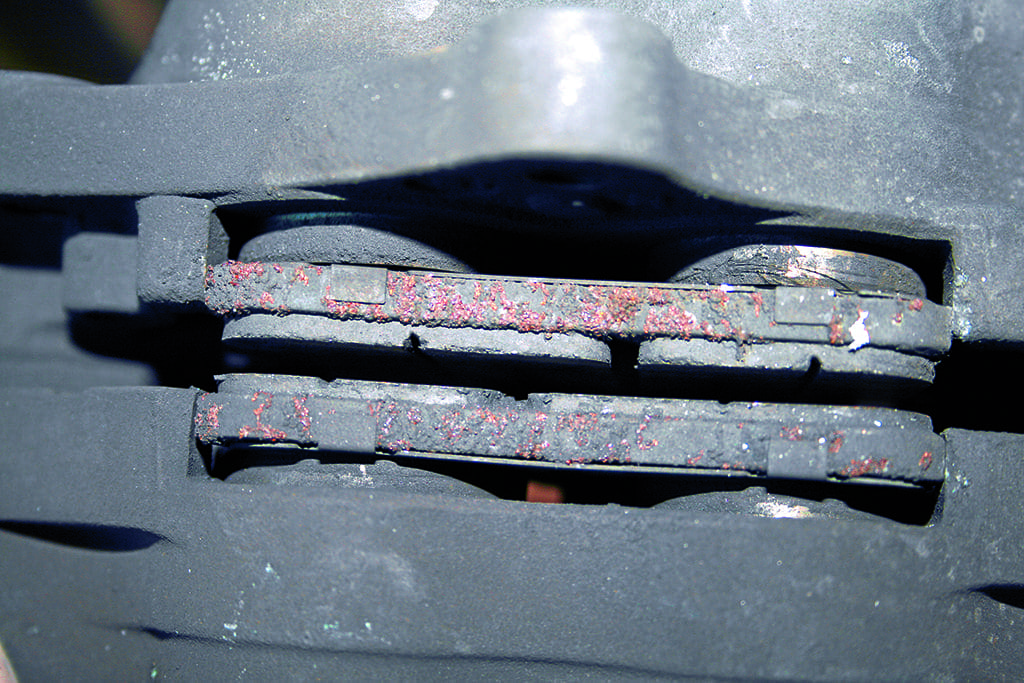
When it comes to pads, don’t for feck’s sake wait till they’re down to the metal before changing them. If they’re anywhere near the wear limiter, change ’em out: pads are cheap compared with crash damage bills. And while we’re on the subject – cheap pads bought online often disappoint. There’s a chance of getting counterfeit parts if you’re buying from unknown sellers, and you’ll be replacing them again in no time.
Standard rubber hoses get baggy and stretchy over time, and should be replaced every few years (check your manual for actual dates). Save this grief by swapping in some quality braided stainless steel hoses, which will transfer more of your wrist-pumping efforts down to the calipers, halting you faster than ever.
Finally, you need to check your seals. There are little seals inside the master cylinder and calipers which wear out over time. Caliper seals make the pistons stick when they get old and worn, and can ultimately leak fluid if they get really old and worn. Change them as part of a caliper overhaul regularly, or if there’s any damage. Up at the master cylinder, the seals reduce braking effort when they wear out. There’s a little rubber cup inside, and if this wears badly, fluid can start to leak back inside the cylinder, lowering the ultimate pressure generated. They’re quick and easy to change while the system is apart, so do it when you’re changing hoses or the like. Do all that and you should be the proprietor of some printed decent anchors. Well, assuming you do everything back up nice and tight.
Want more Fast Bikes? Subscribe from just £10